Facebook Conversions API (Meta CAPI)
Send web, app, offline, and physical store conversion events from your data warehouse to Meta using the Conversions API (CAPI). This is Meta's recommended server-side integration for improving ad targeting, attribution, and measurement.

Meta's modern architecture centers on datasets, which unify website, app, offline/store, and messaging event data into a single pipeline. The Conversions API is the primary way to send events to your dataset.
Offline Conversions API discontinued. Meta's legacy Offline Conversions API was discontinued in May 2025. All offline and physical store events should now be sent via the Conversions API with action_source set to physical_store.
For a full walkthrough with use-cases, see our step-by-step blog guide.
Features
| Feature name | Supported | |
|---|---|---|
| Bulk upload | True | Only on event insert |
Only event insert is currently supported. To request a wider support for Reverse-ETL, please reach out to our team.
Setup Guide - Reverse ETL
Prerequisites
To connect Facebook Conversions to Weld, you need:
- An active Meta (Facebook) account with admin access to the relevant Ad Account and Meta Events Manager (formerly Facebook Events Manager).
- A Dataset (previously called Pixel) set up in Meta Events Manager. Your events will be sent to this dataset's ID.
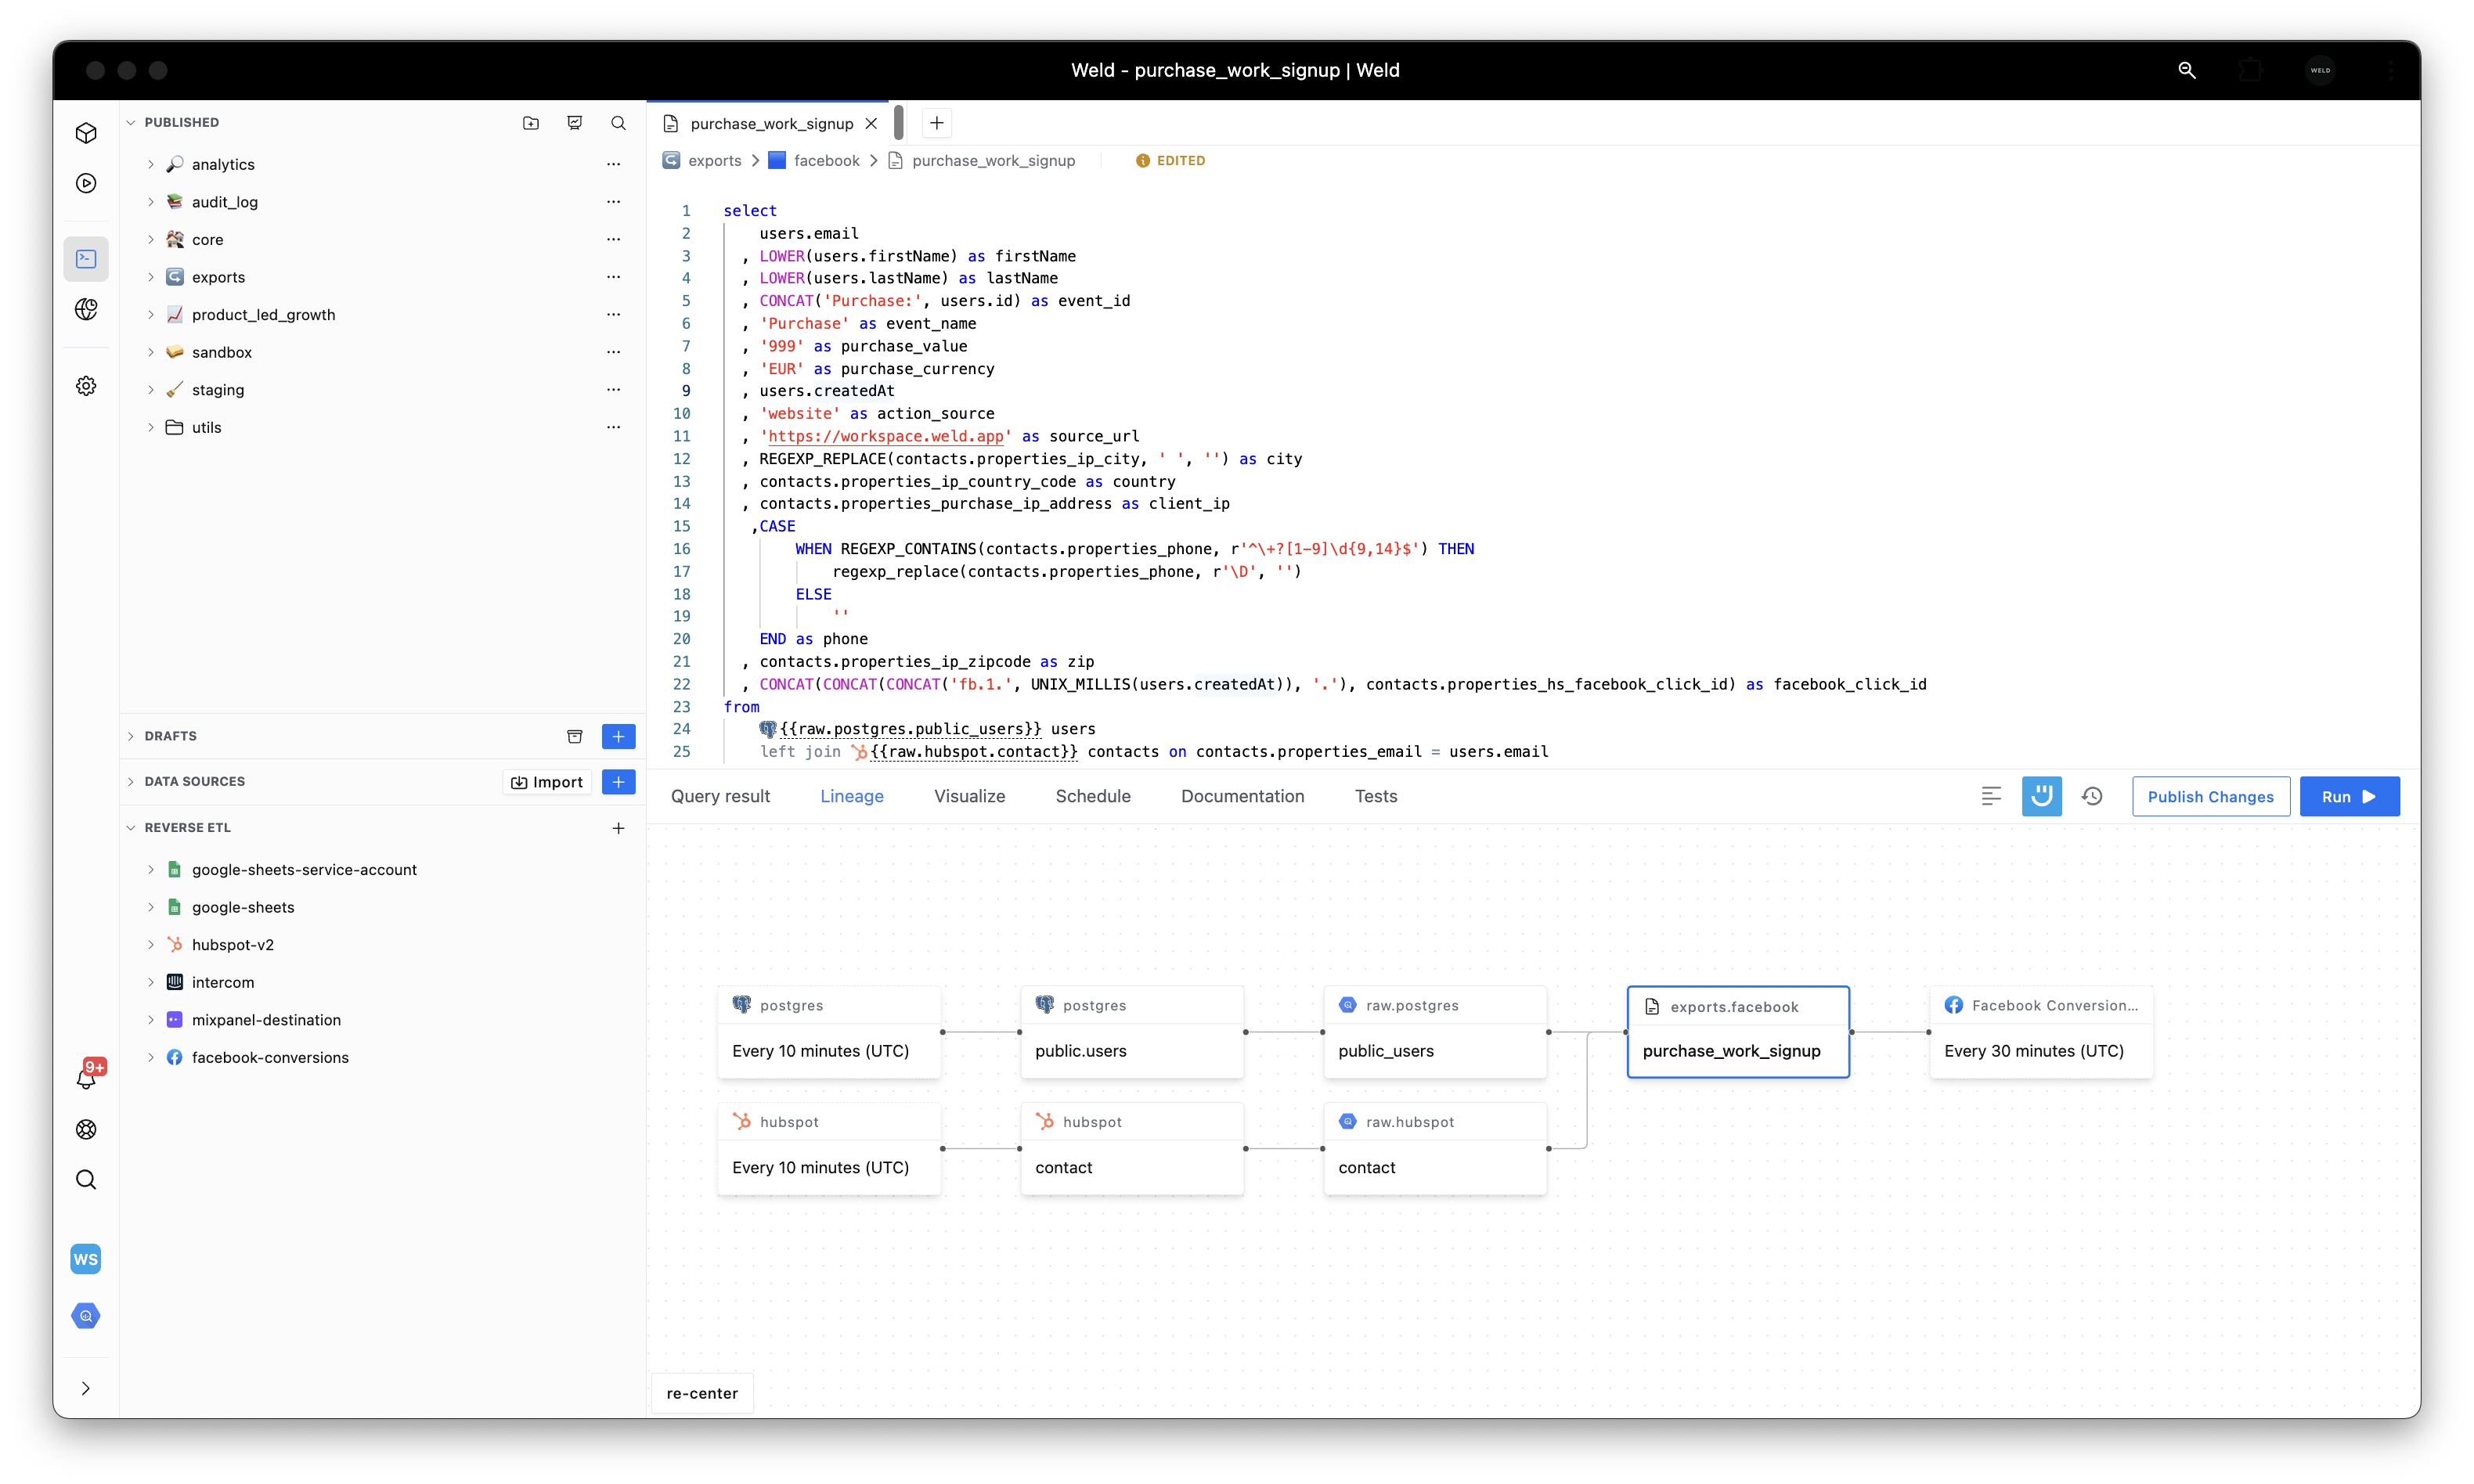
- A SQL model in Weld containing the conversion event data you want to send.
Step 1 - Create the Reverse-ETL Destination
- Click on Reverse ETL in the Weld sidebar.
- If this is your first Reverse-ETL sync, the setup guide starts automatically. Otherwise, click Add Reverse ETL Sync.
- Find Facebook Conversions from the connector list and either select an existing connection or create a new one. You'll be prompted to authorize with your Meta account.
Step 2 - Target Details
The Facebook Conversions connection does not have additional configuration. This step is skipped.
Step 3 - Map Your Data
This is the most important step. You'll connect your SQL model to Meta's CAPI parameters.
Source Model
Select the SQL model that produces the event data you want to send. Your model should output one row per event.
Sync Mode
Insert— Sends new events only (the only supported mode for CAPI)
7-day limit for web events
event_time can be at most 7 days in the past for web events (where action_source is website). If any event in the batch exceeds this, Meta rejects the entire request.
For offline / physical store events (where action_source is physical_store), you can send events up to 62 days back.
Make sure your SQL model filters events accordingly:
WHERE event_time >= UNIX_SECONDS(TIMESTAMP_SUB(CURRENT_TIMESTAMP(), INTERVAL 7 DAY))
Choose Identifier
Select the unique identifier to match records between source and destination. This is typically event_id or a unique row ID.
Field Mapping
Map columns from your SQL model to Meta CAPI parameters. Below is a reference for which fields to include and how to format them.
Weld automatically hashes all customer information parameters that require hashing (email, phone, name, city, etc.). You do not need to hash them yourself.
Required Fields
| Your Column | Maps to | Description |
|---|---|---|
| event_name | event_name | Standard event name (e.g. Purchase, Lead, AddToCart, PageView) or a custom event name |
| event_time | event_time | UNIX timestamp (seconds) of when the event occurred |
| action_source | action_source | Where the event happened: website, physical_store, app, phone_call, email, chat, system_generated, or other |
Recommended Fields (improve Event Match Quality)
The more customer information you send, the higher your Event Match Quality (EMQ) score, and the better Meta can optimize your campaigns.
| Your Column | Maps to | Format | Hashed by Weld? |
|---|---|---|---|
em | Lowercase email | Yes | |
| phone | ph | Digits only, with country code (e.g. 15551234567) | Yes |
| first_name | fn | Lowercase | Yes |
| last_name | ln | Lowercase | Yes |
| city | ct | Lowercase, no spaces | Yes |
| state | st | 2-letter state code, lowercase | Yes |
| zip | zp | Lowercase | Yes |
| country | country | 2-letter ISO country code, lowercase | Yes |
| client_ip_address | client_ip_address | IPv4 or IPv6 | No |
| client_user_agent | client_user_agent | Raw user-agent string | No |
| fbc | fbc | The _fbc cookie value from the user's browser | No |
| fbp | fbp | The _fbp cookie value from the user's browser | No |
| external_id | external_id | Your internal user/customer ID | Recommended |
Keep fbp and fbc fresh. These are cookie values that change over time. If you store them in your database, ensure you're always sending the most recent values. Stale cookies reduce match quality.
Deduplication Fields
If you also send the same events via the Meta Pixel (client-side), include these fields to prevent double-counting:
| Your Column | Maps to | Description |
|---|---|---|
| event_id | event_id | Must match the eventID passed in the Meta Pixel fbq('track') call |
How deduplication works
Meta deduplicates events when it receives the same event_id + event_name combination from both the Pixel and CAPI within 48 hours. The later-arriving duplicate is discarded.
Alternative deduplication: If generating a shared event_id across client and server is difficult, Meta also supports deduplication using external_id and/or fbp passed consistently on both channels. However, this method only works when the browser event arrives before the server event. For the best results, send all three identifiers (event_id, external_id, fbp) whenever possible.
On the client side, pass the event ID like this:
fbq(
  "track",
  "Purchase",
  { value: 49.99, currency: "USD" },
  { eventID: "Purchase:order_456" },
);
Your server-side event should use the same event_id value (Purchase:order_456).
A common pattern for generating event IDs:
- E-commerce:
{event_name}:{order_id}(e.g.Purchase:order_456) - SaaS:
{event_name}:{user_id}:{timestamp}(e.g.Lead:usr_789:1713024000)
Custom Data Fields (optional)
| Your Column | Maps to | Description |
|---|---|---|
| value | value | Monetary value of the event (e.g. 49.99) |
| currency | currency | ISO 4217 currency code (e.g. USD, EUR) |
| content_ids | content_ids | Product IDs associated with the event |
| content_type | content_type | Either product or product_group |
| order_id | order_id | Used for offline event deduplication |
| event_source_url | event_source_url | URL where the event occurred (required for web events) |
Step 4 - Schedule Sync
Choose how often to sync events to Meta. Meta recommends near-real-time delivery for best optimization results.
- Independent: The sync runs on its own schedule (e.g. every 15 or 30 minutes).
- Orchestration: The sync runs as part of a Weld orchestration workflow, after your upstream models refresh.
For most use-cases, we recommend syncing every 15-30 minutes.

Step 5 - Finalize and Run
Click Start Sync to save your configuration and begin sending events.
Verifying Your Setup
After your first sync completes, verify that Meta is receiving and matching your events:
-
Meta Events Manager → Test Events: Use Meta's Test Events tool to confirm server events are arriving. You can also use
test_event_codein your payload during testing to route events to the test view without affecting production data. -
Meta Events Manager → Overview: Check that your CAPI events appear under the correct dataset with the label "Server" as the connection method.
-
Event Match Quality (EMQ): Review the EMQ score for each event type (visible in Meta Events Manager). Aim for 6+ out of 10. If your score is low, add more customer information parameters to your SQL model.
-
Deduplication Check: If you're sending redundant events (Pixel + CAPI), verify in the Test Events tool that duplicate events are being properly merged, not double-counted.
-
Payload Helper: Use Meta's Payload Helper to validate your event payload structure. Meta also offers a Parameter Builder Library, a lightweight SDK for generating high-priority match keys following best practices.
Ongoing Monitoring
Setup is not a one-time task. Monitor these metrics weekly to maintain integration health:
| Metric | Where to check | What to look for |
|---|---|---|
| Event Match Quality (EMQ) | Meta Events Manager → event detail | Score trending at 6+ out of 10. Drops indicate customer data coverage issues. |
| Deduplication rate | Meta Events Manager → Test Events | Healthy redundant setups show consistent dedup. Zero dedup may mean mismatched event IDs. |
| Data freshness | Meta Events Manager → Overview | Events should arrive within minutes of occurring. Delays hurt optimization. |
| "Additional conversions reported" | Meta Events Manager | Shows how many extra conversions CAPI captured vs. Pixel alone. Your proof of lift. |
| Dataset diagnostics | Meta Events Manager → Diagnostics | Warnings about invalid parameters, rejected events, or low match rates. |
For teams managing CAPI at scale, Meta's Dataset Quality API lets you monitor event quality, match rates, and diagnostics programmatically, which is useful for building automated alerts.
Common Issues
| Problem | Solution |
|---|---|
Events rejected with event_time error | Ensure event_time is within 7 days for web events (62 days for physical_store). Add a WHERE filter in your SQL model. |
| Low Event Match Quality score | Add more customer information fields (email, phone, name, IP address). Each additional field improves matching. |
| Events appear duplicated in reporting | Ensure event_id and event_name match between your Pixel and CAPI events. Both must use the exact same values. |
| City/country formatting errors | city must be lowercase with no special characters. country must be a 2-letter ISO code (e.g. us, not USA). |
action_source error | Must be one of: website, physical_store, app, phone_call, email, chat, system_generated, other. |
| Events not matching to Meta accounts | Check that you're sending hashed customer data. Weld hashes automatically, but verify the raw data format is correct (e.g. email is a valid email, phone includes country code). |