
Apart from selecting columns from the existing data, it’s also very simple to create new columns.
For example, you might want to highlight in the Customer table that each row is a customer.
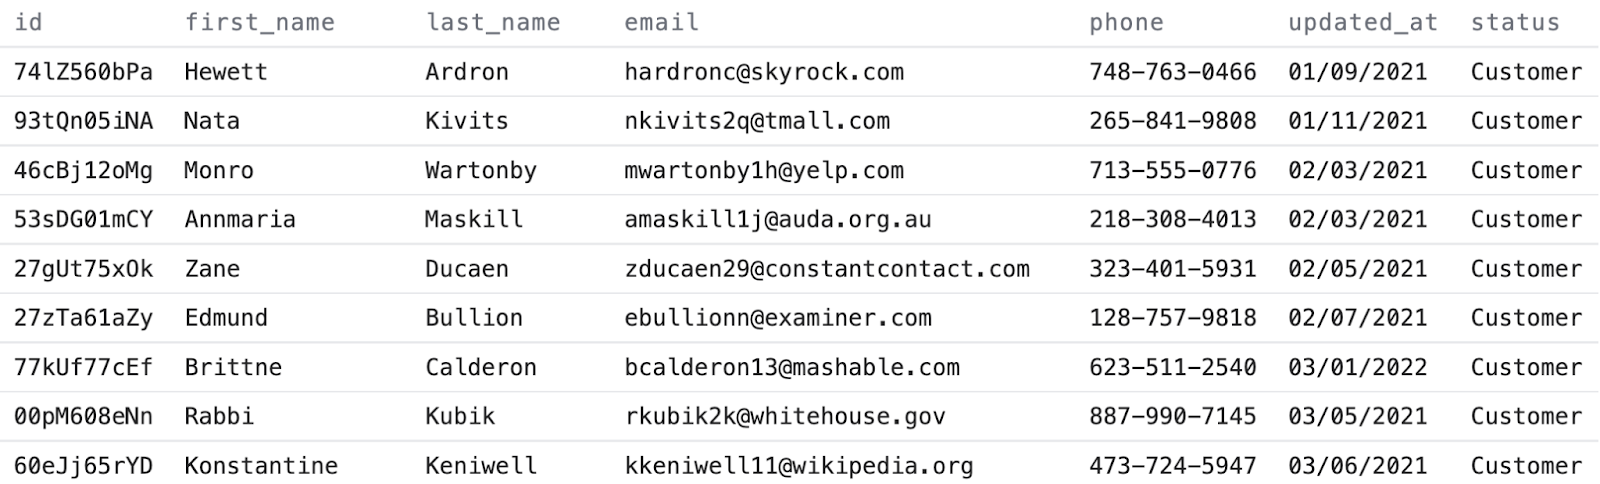
You can simply add this in a new column to the table like this:
1select
2    id
3  , first_name
4  , last_name
5  , email
6  , phone
7  , updated_at
8  , 'Customer' as status
9from
10    {{raw.e_commerce_sample.webshop_customer}}
It will look like this:
If you have a look at the query, you can see that the way to add a new column is quite simple.
Here’s how it works:
- You start by defining what the content of this column should be — in this case simply the word
'Customer'. - Use single quotation marks to indicate that this is a word you want to add to the table.
- This is followed by a statement to name the column, written with the
ASkeyword followed by the name of the column.
💡 Tip:
It’s best practice to avoid spaces in the column names, so you would typically replace these with an underscore.
You can always rename your column names later on in your visualization tool if you want them to look nicer to read.
Next up
Making calculations in columns
Creating your own columns in SQL becomes even more useful for business analysis when you include calculations in the columns.
Go to lesson