What is the Weld MCP?
The Weld MCP lets you manage your data warehouse and ELT pipelines using your favourite familiar tools - Claude Code, Claude Desktop, Cursor, GitHub Copilot, or Windsurf. List syncs, inspect connections, debug a pipeline, or create a new SQL transform and do it all converstionally without a worrying about syntax or hours of work.
The Model Context Protocol (MCP), is an open standard for connecting AI assistants to external tools. You connect once, and your assistant instantly knows how to work with your Weld workspace - no APIs to wire up, no custom integration to maintain.
Curious what that looks like in practice? See what you can do with the Weld MCP →.
Before you start
You'll need a few things in place:
- A Weld account on the Premium plan or above - have a look at our plans on the pricing page.
- The MCP Server can be tested free of charge on the Basic plan for a period of 2 weeks.
- After the trial period, the MCP Server can be purchased as an add-on for €99/month.
- Connection methods include:
- OAuth (recommended) - nothing to set up; you log in with your Weld account in a browser.
- API key - create one in the Weld app under Settings → API keys (workspace.weld.app).
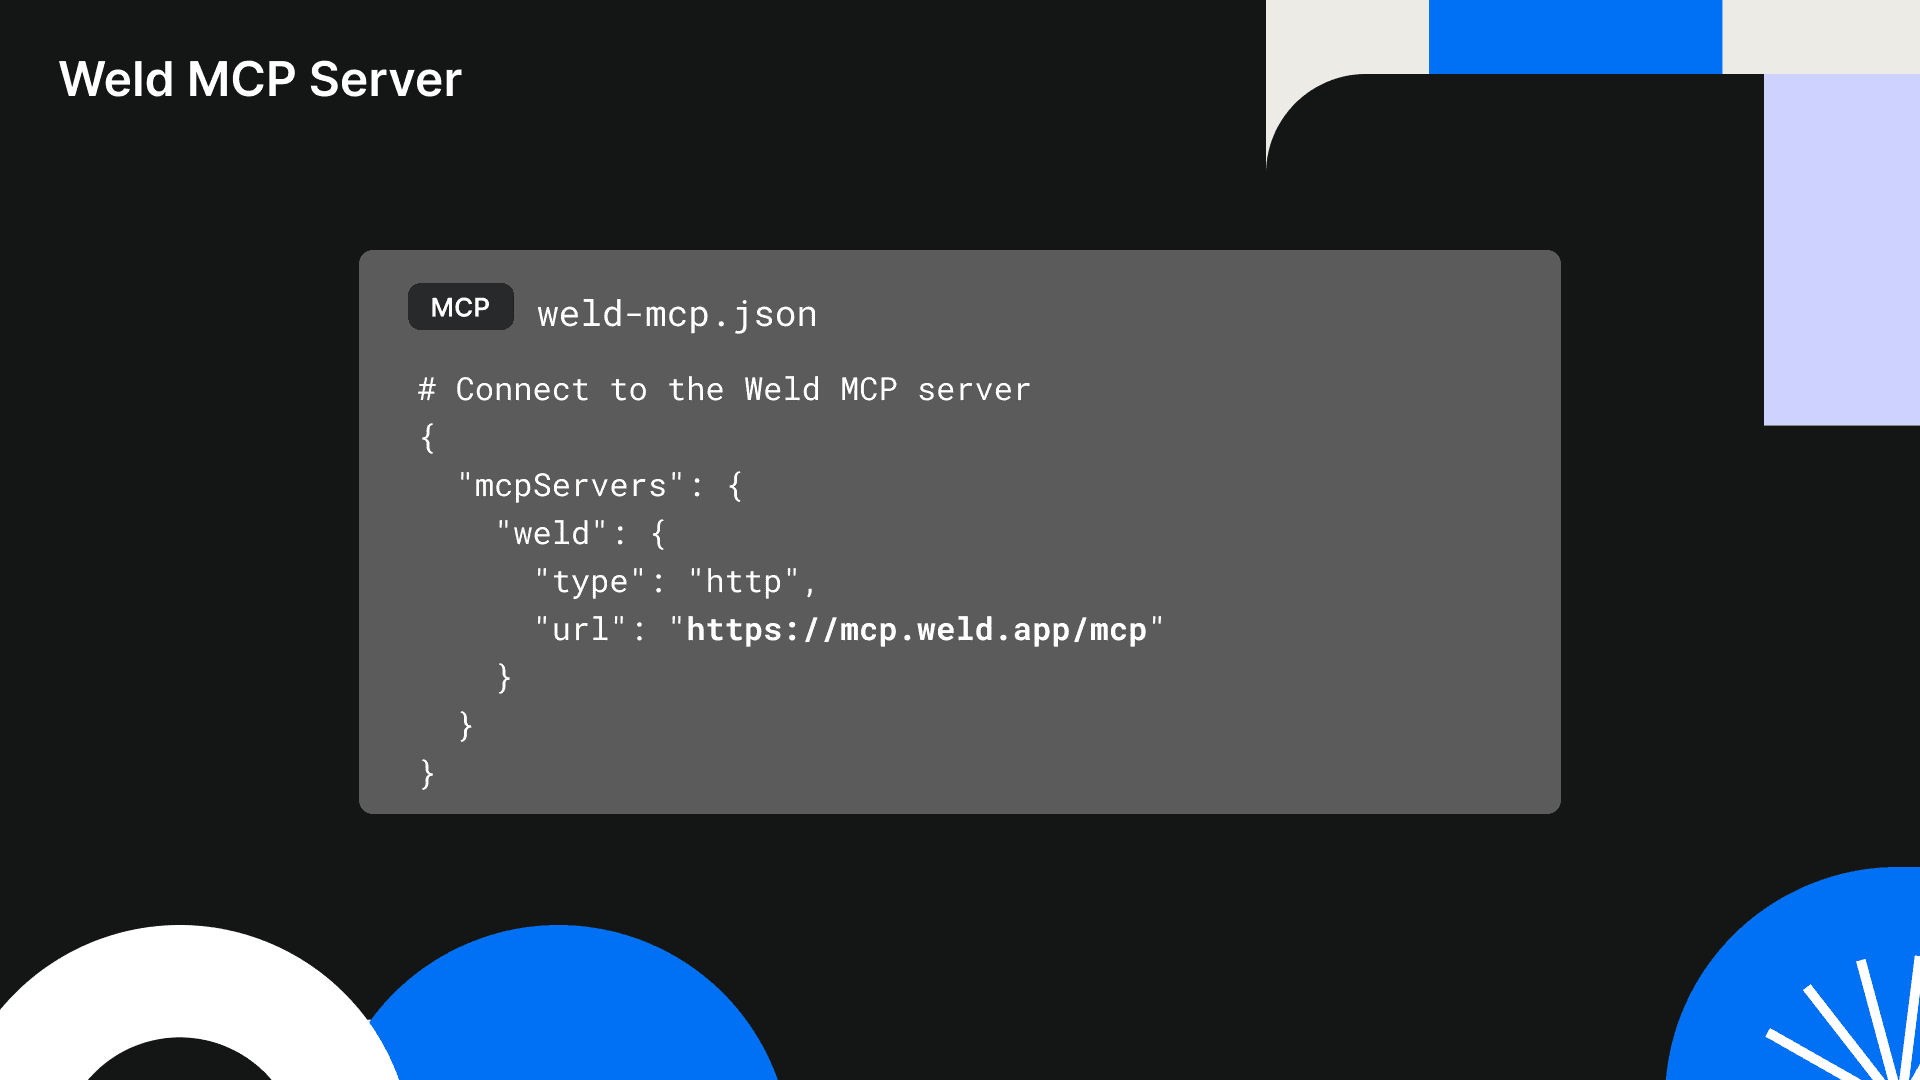
- The endpoint every client connects to:
https://connect.weld.app/mcp(Streamable HTTP transport).
Setup guide
Pick the path that matches your tool. OAuth is the smoothest if you're on Claude, so we'll start there.
Option 1 (Recommended): Claude tools via OAuth
The easiest way to connect. There's no API key to create or store - you just log in.
Claude Desktop & claude.ai
In Claude Desktop or on claude.ai, you can connect Weld straight from the Connectors menu - no config file needed.
- Open Settings → Connectors.
- Click Add custom connector.
- Give it a name (for example,
Weld) and paste in the endpoint:https://connect.weld.app/mcp - Click Add. A browser window opens - log in with your Weld account to authorize the connection.
- That's it. Weld's tools are now available right in your chat.
Claude Code
- Add the server (no API-key header needed for OAuth):
claude mcp add weld --transport streamable-http https://connect.weld.app/mcp - Run
/mcpinside Claude Code and complete the browser login when prompted.
Have more than one workspace? No special URL needed - connect with the standard endpoint and just tell your assistant which workspace to use. It can call the
list_accountstool to see the workspaces you have access to, then work in the one you pick.
Option 2: Config file using an API key
For tools that don't use OAuth - or if you'd rather use a static key. Create your key under Settings → API keys and pass it in the x-api-key header.
Security note: Keep your API key secret. Don't commit it to version control - use environment variables or a secrets manager wherever you can.
Claude Code
claude mcp add weld --transport streamable-http https://connect.weld.app/mcp \
  --header "x-api-key: <YOUR_WELD_API_KEY>"
Cursor
Add this to .cursor/mcp.json (project) or ~/.cursor/mcp.json (global):
1{
2  "mcpServers": {
3    "weld": {
4      "url": "https://connect.weld.app/mcp",
5      "headers": {
6        "x-api-key": "<YOUR_WELD_API_KEY>"
7      }
8    }
9  }
10}
VS Code (GitHub Copilot)
Add this to .vscode/mcp.json (project) or your user settings. Note the key is servers, not mcpServers:
1{
2  "servers": {
3    "weld": {
4      "url": "https://connect.weld.app/mcp",
5      "headers": {
6        "x-api-key": "<YOUR_WELD_API_KEY>"
7      }
8    }
9  }
10}
Windsurf
Add this to your Windsurf MCP configuration file. Note the key is serverUrl, not url:
1{
2  "mcpServers": {
3    "weld": {
4      "serverUrl": "https://connect.weld.app/mcp",
5      "headers": {
6        "x-api-key": "<YOUR_WELD_API_KEY>"
7      }
8    }
9  }
10}
Headless / programmatic (for developers)
Calling the MCP server directly from CI, a script, or a custom client? Connect to https://connect.weld.app/mcp over the Streamable HTTP transport and send your key in the x-api-key: <YOUR_WELD_API_KEY> header on every request. The server is stateless, so there's no session to open or expire.
Mind the rate limits: 60 requests per minute per account and 10 authentication attempts per minute per IP address. Exceed either and you'll get a 429 Too Many Requests response.
Test your connection
Once you're set up, confirm everything's working by asking your assistant:
List my Weld connections.
Your assistant calls the list_connections tool and returns your data sources. If you see them listed, your connection is live and ready to go.
Further resources
- Explore what's possible in What you can do with the Weld MCP →.
- Read the Weld MCP documentation →